Ankle brace pull on instructions
How to put on The BetterGuard ankle brace
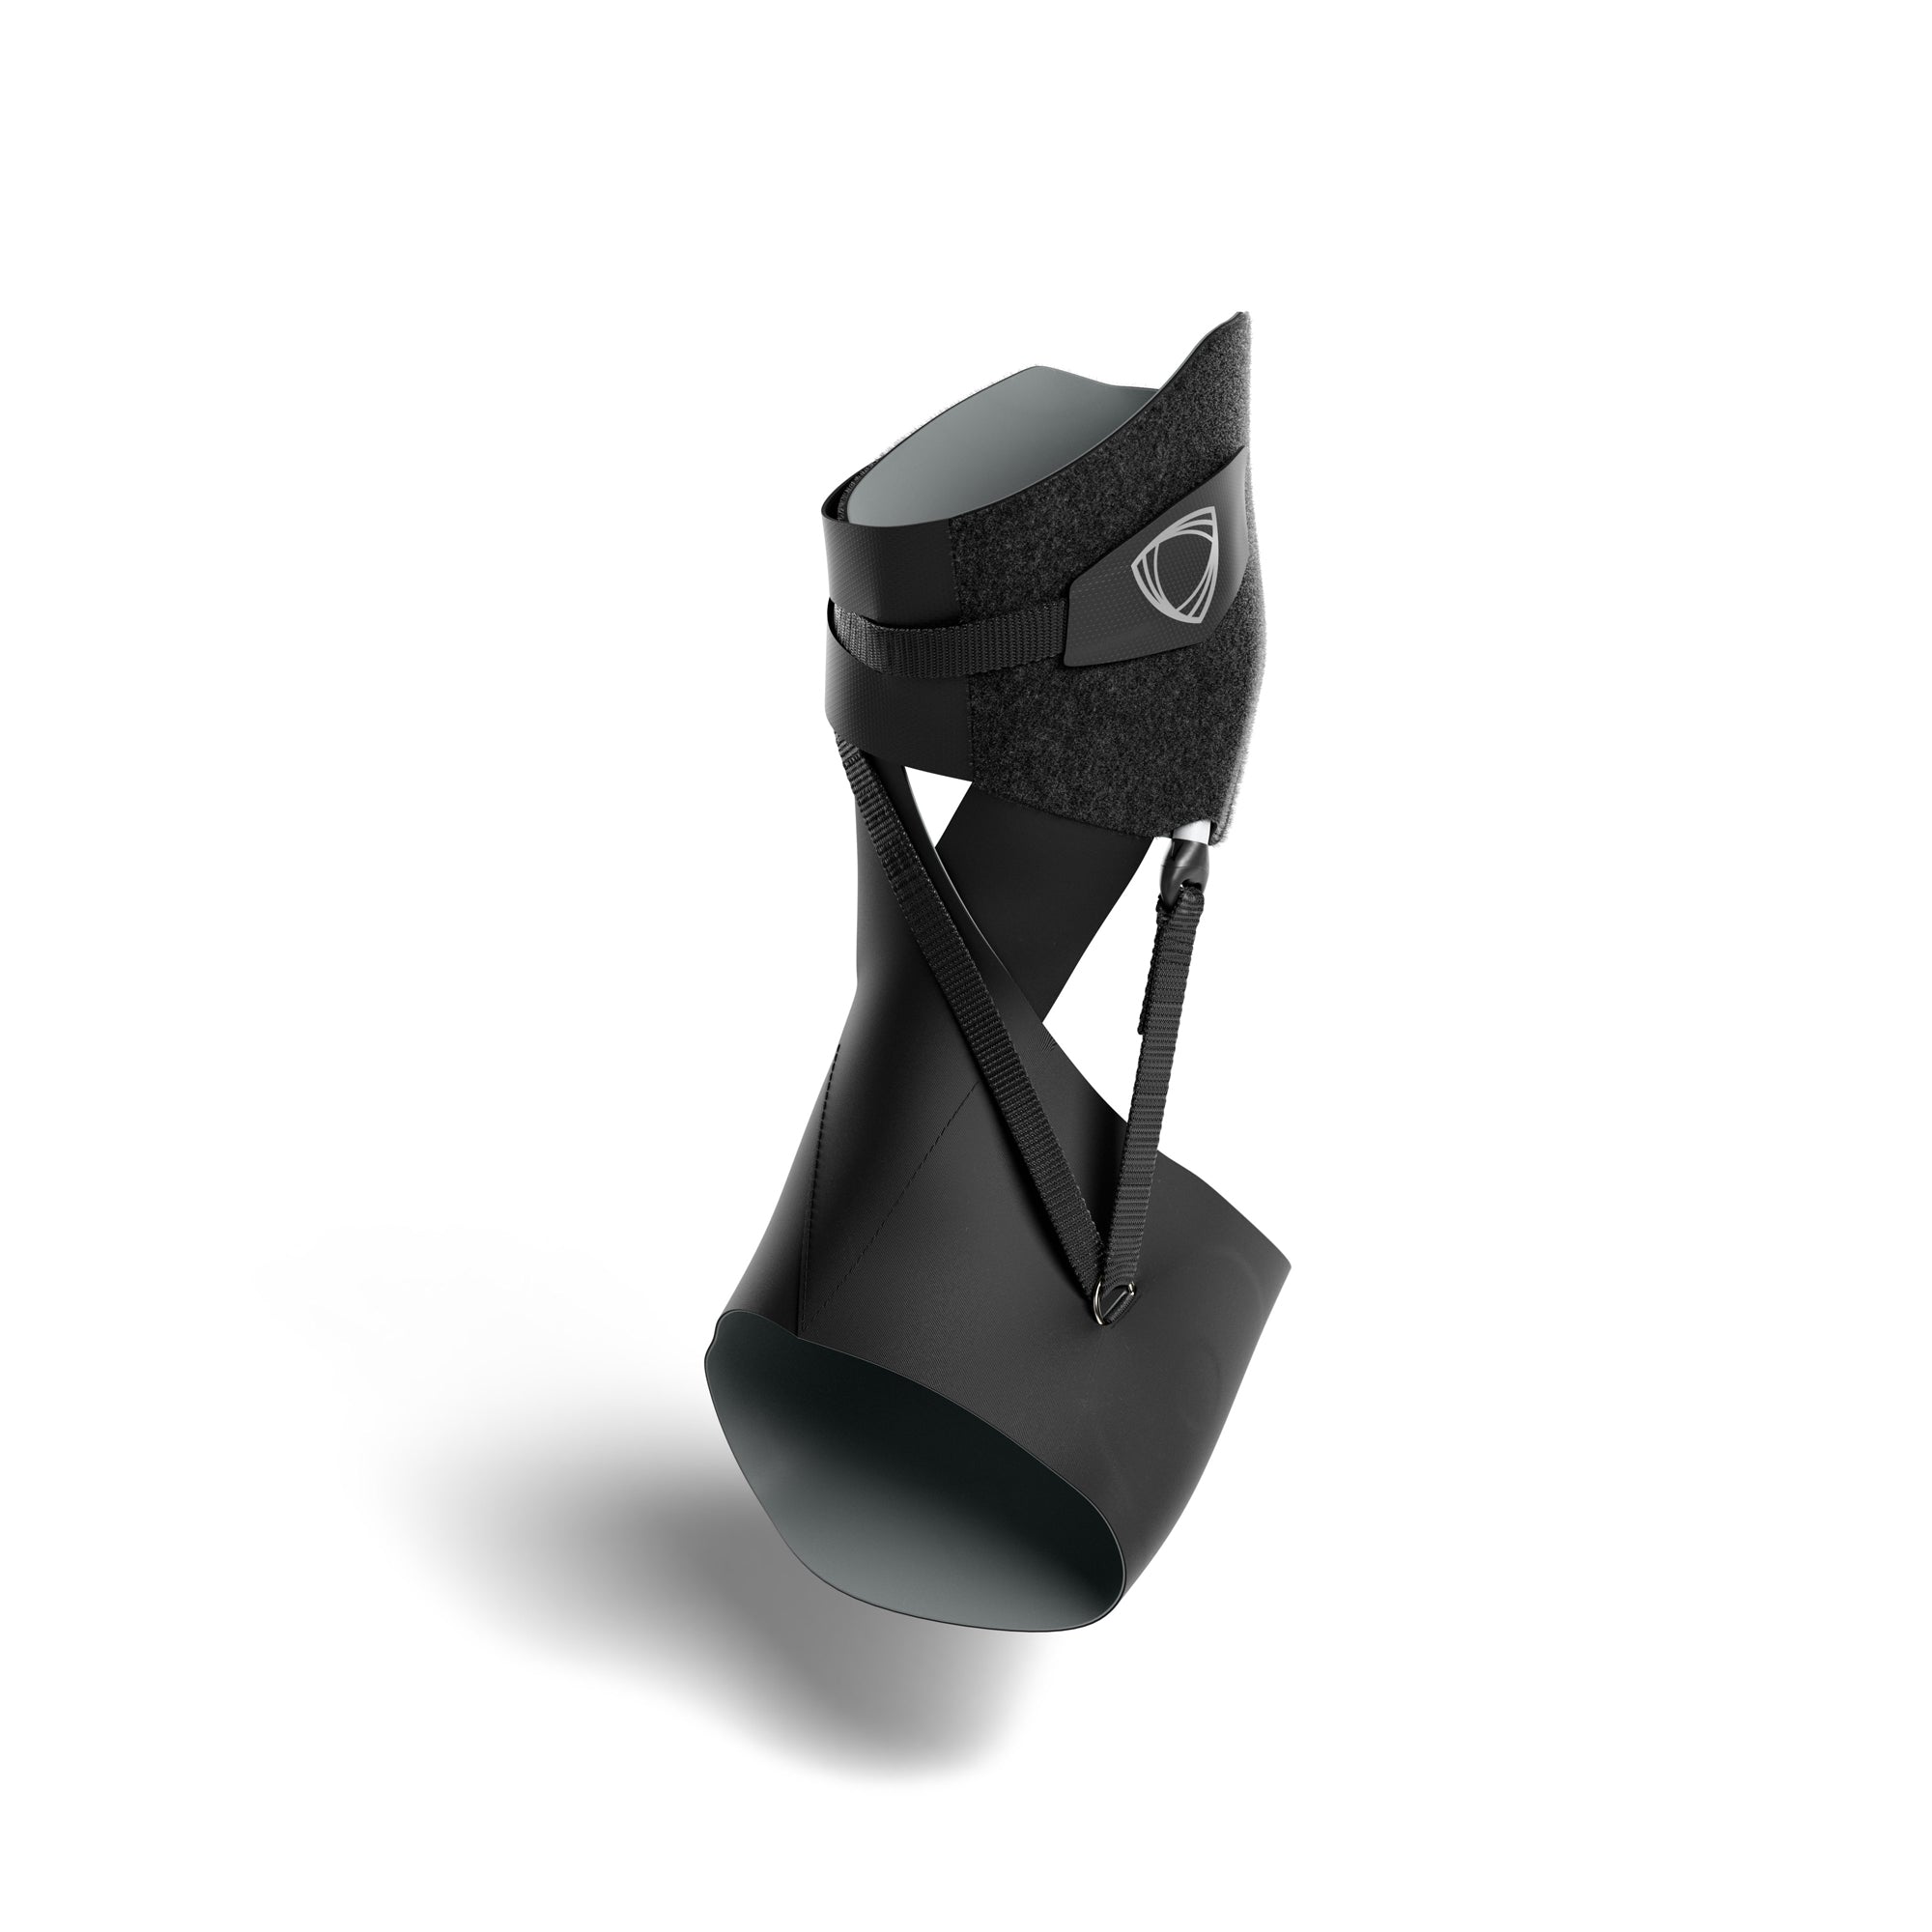
The BetterGuard

Step 1
Undo the velcro tabs and pull the inner strap through the eyelet as far as possible to achieve the largest possible entry space for your foot.

Step 2
Pull the support over the foot and the closure as high as possible.

Step 3
Make sure the sole is pulled towards the heel, with the seam on top centered on the instep.

Step 4
The mini-piston should be positioned above the outer ankle bone (malleoli).

Step 5
Hold the position in place and pull the inner strap forward through the eyelet.

Step 6
Thread the inner strap through the opening in the outer strap. At the same time, keep the mini-piston position fixed.

Step 7
Correct pre-tension of the system is essential for proper function. To ensure correct pre-tension of the system (1) Pull the lateral velcro closure until the (2) Mini-piston is extended 3 millimeters from its original state.

Step 8
Tighten the strap and close the interior and exterior velcro fasteners. During this step, the lower leg should be tilted slightly forward.

Step 9
Correct the pre-tension of the closure after the first movements of the ankle in different directions. If you wear the brace for a longer period of time, check the pre-tension again and correct the pre-tension if necessary.
The BetterGuard Lite

Step 1

Step 2
Hold the ankle straps open with both hands. Insert your thumbs into the lower frame to create the widest possible opening for your foot to enter.

Step 3
Guide your foot through the lower frame and into the brace. Pull the lower frame back toward your heel as far as possible. Ensure the seam on top is centered over the top of your foot.

Step 4
Pull the upper frame over your heel so it sits above the ankle joint. Ensure the ankle stabilizer is positioned on the outside (lateral side) of your ankle.

Step 5
Place your foot flat and slide your heel back so your toes are under your knee. Hold the upper frame above the ankle joint and pull the adjustable inner strap forward to engage the stabilizer. The white tube should be visible when properly engaged.

Step 6
Maintain tension on the adjustable strap as you thread it through the eyelet on the outer strap. Fasten both velcro straps to secure the upper frame. Check that at least a few millimeters of the white tube are visible; adjust as needed until the system is set.
Note: Straps should feel snug but not uncomfortable. Avoid overtightening, as this can cause discomfort.

Step 7
Regularly check and adjust the straps as needed to ensure the ankle stabilizer remains properly engaged during use.
Step 1
Undo the velcro tabs and pull the inner strap through the eyelet as far as possible to achieve the largest possible entry space for your foot.
Step 2
Pull the support over the foot and the closure as high as possible.
Step 3
Make sure the sole is pulled towards the heel, with the seam on top centered on the instep.
Step 4
The mini-piston should be positioned above the outer ankle bone (malleoli).
Step 5
Hold the position in place and pull the inner strap forward through the eyelet.
Step 6
Thread the inner strap through the opening in the outer strap. At the same time, keep the mini-piston position fixed.
Step 7
Correct pre-tension of the system is essential for proper function. To ensure correct pre-tension of the system (1) Pull the lateral velcro closure until the (2) Mini-piston is extended 3 millimeters from its original state.
Step 8
Tighten the strap and close the interior and exterior velcro fasteners. During this step, the lower leg should be tilted slightly forward.
Step 9
Correct the pre-tension of the closure after the first movements of the ankle in different directions. If you wear the brace for a longer period of time, check the pre-tension again and correct the pre-tension if necessary.
Step 1
Step 2
Hold the ankle straps open with both hands. Insert your thumbs into the lower frame to create the widest possible opening for your foot to enter.
Step 3
Guide your foot through the lower frame and into the brace. Pull the lower frame back toward your heel as far as possible. Ensure the seam on top is centered over the top of your foot.
Step 4
Pull the upper frame over your heel so it sits above the ankle joint. Ensure the ankle stabilizer is positioned on the outside (lateral side) of your ankle.
Step 5
Place your foot flat and slide your heel back so your toes are under your knee. Hold the upper frame above the ankle joint and pull the adjustable inner strap forward to engage the stabilizer. The white tube should be visible when properly engaged.
Step 6
Maintain tension on the adjustable strap as you thread it through the eyelet on the outer strap. Fasten both velcro straps to secure the upper frame. Check that at least a few millimeters of the white tube are visible; adjust as needed until the system is set.
Note: Straps should feel snug but not uncomfortable. Avoid overtightening, as this can cause discomfort.
Step 7
Regularly check and adjust the straps as needed to ensure the ankle stabilizer remains properly engaged during use.